The Best Budget Audio Interface for Guitar delivers high-quality sound, low latency, and easy connectivity, making it ideal for beginners and home studio musicians seeking affordable professional recording solutions.
Finding the Best Budget Audio Interface for Guitar is essential for musicians who want high-quality sound recording without spending too much money. Whether you are a beginner guitarist or a home studio enthusiast, choosing the right interface can greatly improve your tone, clarity, and overall recording experience. The Best Budget Audio Interface for Guitar allows you to connect your instrument to a computer easily, ensuring low latency and clean audio output. Many affordable models today offer professional-level features such as high-resolution recording, multiple input options, and compatibility with popular DAWs. By selecting the Best Budget Audio Interface for Guitar, you can achieve studio-quality sound at home while staying within your budget. It’s the perfect solution for practice, recording, and content creation.
Why You Need a Dedicated Guitar Audio Interface
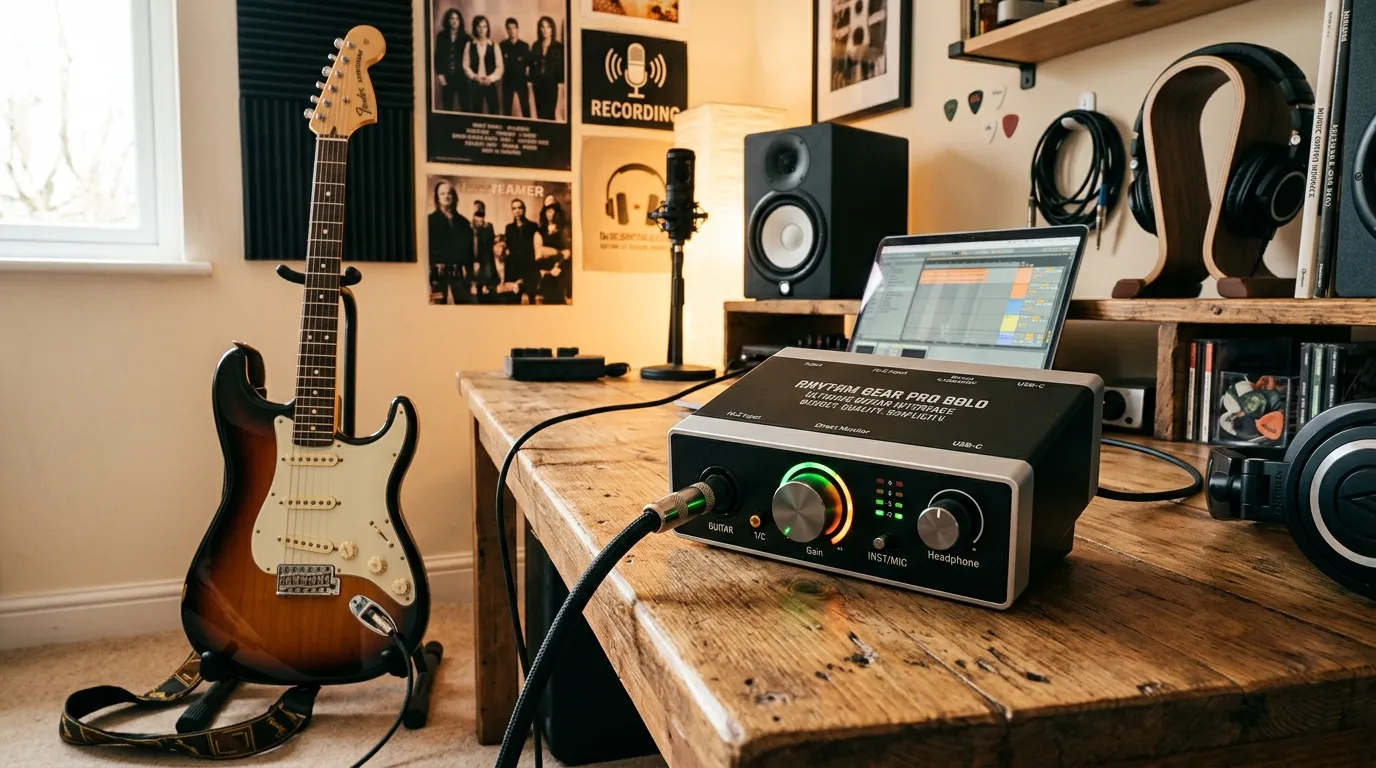
Plugging directly into your computer’s sound card is a surefire way to kill your tone. The latency, noise, and lack of headroom will ruin any recording session. By upgrading to the best budget audio interface for guitar, you immediately unlock pristine sound quality, zero latency monitoring, and enough headroom to capture your heaviest riffs or cleanest chords.
What Makes an Interface “Guitar-Friendly”?
Not all interfaces handle high-impedance (Hi-Z) instrument signals well. If an interface lacks a dedicated instrument input, your guitar will sound thin, weak, and lifeless. The top affordable units include dedicated Hi-Z switches or inputs tailored specifically to electric guitars and basses.
- Hi-Z Inputs: Essential for capturing the full frequency range of passive pickups.
- Low Latency: Crucial when playing through amp simulator plugins so you don’t feel a delay between picking a string and hearing the note.
- High-Quality Preamps: Ensure your raw DI (Direct Injection) signal is clean before hitting your amp sims.
Top 5 Contenders for the Best Budget Audio Interface for Guitar
Let’s look at the heavy hitters dominating the affordable market right now. These units deliver pro-level specs at entry-level prices.
1. Focusrite Scarlett Solo 4th Gen
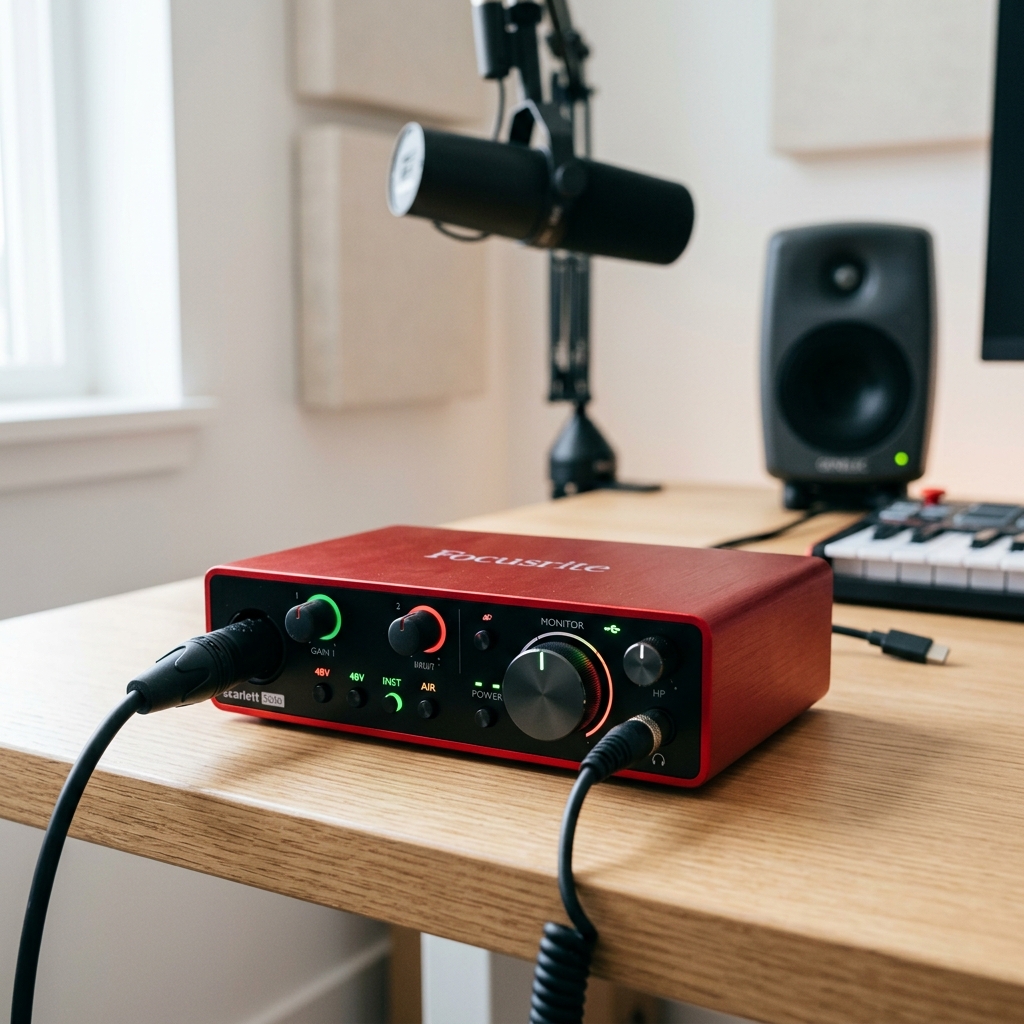
The Focusrite Scarlett series remains an undisputed champion for home studios. The 4th generation brings improved converters and an updated “Air” mode that adds high-end clarity to dull humbuckers.
- Pros: Incredible preamp clarity, massive software bundle.
- Cons: Only one instrument input.
2. Audient iD4 MkII
If preamp quality is your top priority, the Audient iD4 MkII packs a true console-grade preamp into a tiny box. The dedicated JFET DI input is engineered to replicate the input stage of a classic valve amplifier.
- Pros: JFET instrument input sounds incredibly warm; fantastic headphone amp.
- Cons: Slightly pricier than absolute bare-bones options.
3. PreSonus AudioBox GO

For guitarists who want extreme portability, the PreSonus AudioBox GO fits in your pocket. It gives you the bare essentials: one mic input and one instrument input.
- Pros: Ultra-compact, highly affordable.
- Cons: Plastic build feels less durable.
4. Universal Audio Volt 1

Universal Audio stepped into the budget ring with the Volt 1. It features a “Vintage” button that engages a built-in tube emulation circuit, perfect for warming up sterile DI guitar tones.
- Pros: Vintage preamp mode sounds excellent on guitar.
- Cons: No extra outputs for reamping.
5. Behringer U-Phoria UMC202HD
When budget is the absolute strictest factor, Behringer delivers. Featuring MIDAS-designed preamps, this unit is highly capable for its rock-bottom price.
- Pros: Unbeatable price point, two combo inputs.
- Cons: Drivers can occasionally be finicky on Windows.
Comparison Table: Top Budget Interfaces
|
Interface Model |
Best For |
Hi-Z Input |
Max Sample Rate |
Connection |
|---|---|---|---|---|
|
Scarlett Solo 4th Gen |
Beginners |
Yes (1) |
192 kHz |
USB-C |
|
Audient iD4 MkII |
Pure Tone |
Yes (JFET) |
96 kHz |
USB-C |
|
UA Volt 1 |
Vintage Vibe |
Yes (1) |
192 kHz |
USB-C |
|
Behringer UMC202HD |
Ultra-Budget |
Yes (2) |
192 kHz |
USB-B |
How to Set Up Your Budget Audio Interface for Guitar
Buying the best budget audio interface for guitar is only half the battle. How you set it up dictates the quality of your tone.
Step 1: Install Native Drivers
Never rely on generic drivers (like ASIO4ALL) unless absolutely necessary. Go to your interface manufacturer’s website and download their specific drivers. This guarantees the lowest latency possible.
Step 2: Set the Sample Rate and Buffer Size
- Sample Rate: Set this to 44.1 kHz or 48 kHz. Higher rates (like 96 kHz) tax your CPU heavily and offer negligible benefits for basic home recording.
- Buffer Size: When recording, set your buffer size low (64 or 128 samples) to minimize latency. When mixing, raise it (512 or 1024 samples) to give your CPU breathing room for plugins.
Step 3: Gain Staging Your DI Signal
Gain staging is where most beginners fail. Plug your guitar in, engage the Instrument / Hi-Z button, and play your hardest riff. Adjust the gain knob until the peak light flashes green or yellow. Never let it hit red (clipping). Digital clipping destroys guitar takes instantly.
Proper setup transforms cheap gear into professional-sounding equipment. Master your gain staging and driver settings first.
Expert Insights: Getting the Best Tone
We asked leading studio engineers how to squeeze every drop of tone out of a cheap interface.
- Use High-Quality Cables: A cheap, poorly shielded cable introduces RF interference and high-frequency roll-off. Invest in a premium instrument cable.
- Use Fresh Strings: No interface can save the muddy, dull sound of old strings.
- Invest in Good Amp Sims: Your DI signal is just the foundation. Pair your interface with top-tier plugins like Neural DSP or Amplitube.
Common Mistakes to Avoid
- Forgetting to Engage the Hi-Z Switch: Plugging a guitar into a standard line-level input results in a muddy, low-volume signal. Always use the instrument setting.
- Clipping the Input: “Recording hot” is a myth from the analog tape days. In digital audio, peaking around 12dB to -6dB is perfectly safe and keeps your signal clean.
- Ignoring Latency Issues: If your guitar feels sluggish, lower your buffer size immediately. Playing with high latency kills your groove and timing.
Essential Gear to Pair With Your Audio Interface
Your interface is the heart of your studio, but it needs supporting organs.
- Studio Monitors: Invest in flat-response monitors so you hear your guitar tone accurately.
- Good Headphones: Closed-back headphones are essential for silent late-night tracking.
- A Solid DAW: Most interfaces come with Ableton Live Lite or Cubase LE. Learn your DAW inside and out.
Why the Audient iD4 MkII Usually Wins
While the Focusrite is popular, the Audient iD4 MkII often edges it out for pure guitar tone. The dedicated JFET DI acts almost like the input stage of a classic tube amp, adding a subtle, musical harmonic saturation before your signal even reaches the computer. If your primary goal is finding the best budget audio interface for guitar, this unit provides unmatched value.
Conclusion
Finding the best budget audio interface for guitar doesn’t require emptying your wallet. By choosing a unit with a solid Hi-Z input, mastering your gain staging, and managing your buffer size, you can capture studio-grade tracks at home. Upgrade your setup today, dial in your favorite amp sim, and start recording the best riffs of your life!
Frequently Asked Questions
1. What is the best budget audio interface for guitar?
The Focusrite Scarlett Solo and Audient iD4 MkII are widely considered the best options. They offer dedicated Hi-Z inputs, pristine preamps, and low latency at highly affordable prices.
2. Do I really need an audio interface to record a guitar?
Yes. Plugging a guitar directly into a computer’s microphone jack causes severe latency, impedance mismatch, and terrible noise. An interface solves all these issues.
3. What does the Hi-Z button do?
Hi-Z stands for High Impedance. Electric guitars output a high-impedance signal. Engaging this button matches the interface’s input impedance to the guitar, preventing tone loss (especially high frequencies).
4. Can I play live using a budget audio interface?
Yes! As long as you have a powerful laptop and keep your buffer size low, you can run your guitar through an interface, process it with plugins, and send the output to a PA system.
5. How much should I spend on my first audio interface?
You can find phenomenal entry-level interfaces between $100 and $200. Units in this range offer professional 24-bit audio resolution and ultra-low latency.
6. Does a better interface improve guitar tone?
Yes, but with diminishing returns. A budget interface with a good JFET or Hi-Z input will capture 95% of the quality of a $1000 unit. Your amp sim and playing technique matter much more.
7. Should I choose USB-C or USB-A?
USB-C is the modern standard and often provides better bus power to the interface, which can improve headphone amp performance. However, USB-A 2.0 still provides plenty of bandwidth for recording a few tracks simultaneously.
8. How do I fix latency when playing guitar?
Fix latency by downloading your manufacturer’s dedicated ASIO drivers and lowering your DAW’s buffer size to 128 or 64 samples while recording.
9. Can I use guitar pedals with my audio interface?
Absolutely. You can run your guitar through your physical pedalboard and then into the instrument input of your interface. Just ensure your output isn’t clipping the interface.
10. What is direct monitoring?
Direct monitoring allows you to hear the raw input signal before it travels to your computer. While useful for vocals, guitarists usually leave this off because they need to hear their amp simulator plugins instead of the dry DI signal.


Leave a Reply